When you're lying awake at 2 AM with a stuffy nose, desperately switching between sides and fluffing pillows, you're not alone. The position you sleep in can make or break your ability to breathe freely through the night. Your sinuses have natural drainage pathways that work with or against gravity depending on how you position your head and body.
What You'll Learn
- The exact ranking of sleep positions from best to worst for sinus drainage
- How to create the perfect 30-45 degree head elevation using pillows or wedges
- Which side of your body drains congestion better (and how to tell)
- A proven bedtime routine that clears your airways before you even lie down
- Why your pre-sleep prep matters just as much as your sleeping position
The Best (and Worst) Sleep Positions for Congestion Relief
Not all sleeping positions are created equal when it comes to nasal drainage. Here's how the four main positions rank based on how well they help your sinuses drain naturally.
Position #1: Elevated Back Sleeping (Best for Drainage)
Sleeping on your back with your head elevated 30-45 degrees is the gold standard for congestion relief. This position uses gravity to help mucus drain down your throat instead of pooling in your sinuses. Your nasal passages stay open, and both sides of your nose can drain equally well.
The key is getting the angle right. Too flat and you lose the drainage benefit. Too steep and you'll slide down or strain your neck. Think of it like a gentle ramp that guides congestion away from your head.
Position #2: Side Sleeping (Good with Strategy)
Side sleeping can work well, but there's a trick to it. The side that's up (not touching the pillow) will drain better than the side that's down. If your right nostril feels more blocked, try sleeping on your left side. Your upper nostril gets better airflow and drainage.
You might need to alternate sides during the night as congestion shifts. Many people find that one side consistently drains better than the other due to natural nasal cycle patterns.
Position #3: Flat Back Sleeping (Poor Drainage)
Lying completely flat on your back is where problems start. Without elevation, mucus has nowhere to go but to pool in your sinuses. You might feel okay when you first lie down, but congestion builds up as the night goes on.
This position also makes it easier for post-nasal drip to irritate your throat, leading to coughing that disrupts your sleep even more.
Position #4: Stomach Sleeping (Worst Choice)
Stomach sleeping is the worst position for congestion. Your face is pressed into the pillow, creating pressure that blocks your nasal passages even more. Plus, turning your head to one side all night can strain your neck and create uneven drainage.
If you're a natural stomach sleeper, this position change might feel uncomfortable at first, but the breathing improvement is worth the adjustment period.
DIY Head Elevation Methods That Actually Work
Getting the right elevation doesn't require expensive equipment. Here are three proven methods to create that perfect 30-45 degree angle.
Stacked Pillows: Use 2-3 firm pillows stacked gradually. Start with a thin pillow at the bottom, medium in the middle, and your regular pillow on top. This creates a gentle slope instead of a sharp angle.
Wedge Pillow: A foam wedge pillow gives you consistent elevation all night. Look for one that's 7-12 inches tall at the highest point. Memory foam wedges hold their shape better than cheaper alternatives.
Adjustable Bed: If you have frequent congestion issues, an adjustable bed base lets you find your perfect angle and maintain it all night. Many users find their ideal spot is around 35 degrees.
Your Complete Bedtime Congestion Routine
Your sleeping position is only half the battle. What you do in the 30 minutes before bed can clear your airways and set you up for better breathing all night.
Step 1: Steam Shower (10 minutes)
Take a hot shower and breathe in the steam. The warm, moist air helps thin mucus and opens your nasal passages. Focus on breathing through your nose during the shower.
Step 2: Saline Rinse (5 minutes)
Use a neti pot or saline spray to flush out irritants and excess mucus. This clears the way for better drainage once you lie down.
Step 3: Red Light Therapy Session (10 minutes)
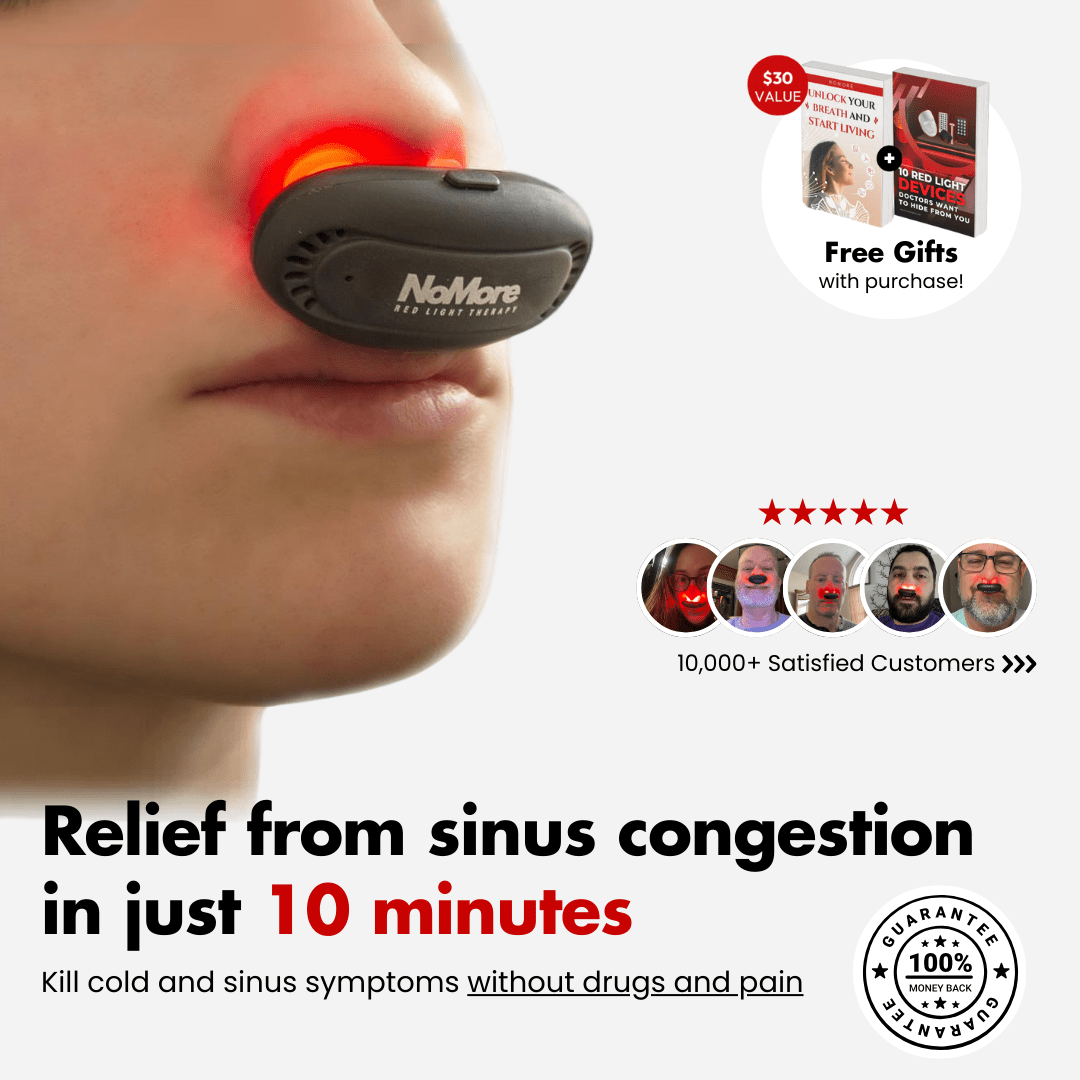
Use targeted red light therapy like NoMore® Colds to reduce inflammation in your nasal passages. The specific wavelengths help decrease swelling that blocks your airways.
Step 4: Get Into Position
Set up your elevation and get comfortable. Give your body a few minutes to adjust to the new position before expecting perfect breathing.
One user shared: "I got an adjustable bed and started using red light therapy before sleep. After months of waking up every few hours, I finally slept through the night. The combination of proper elevation and clearing my sinuses beforehand made all the difference."
Why Pre-Sleep Prep Matters as Much as Position
Even the perfect sleeping position won't help if your nasal passages are completely blocked before you lie down. Think of it like trying to drain a sink with a clog - the angle of the sink doesn't matter if nothing can flow through the pipes.
Your bedtime routine should focus on opening your airways first, then maintaining that openness with proper positioning. This two-step approach - clear then position - gives you the best chance of sleeping through the night without congestion waking you up.
The key is consistency. Your sinuses respond well to routine, so doing the same clearing steps every night trains your body to start the drainage process before you even lie down.
Complete your sleep routine with NoMore® Colds and experience the relief that comes from finally breathing freely all night long.






Leave a comment
This site is protected by hCaptcha and the hCaptcha Privacy Policy and Terms of Service apply.